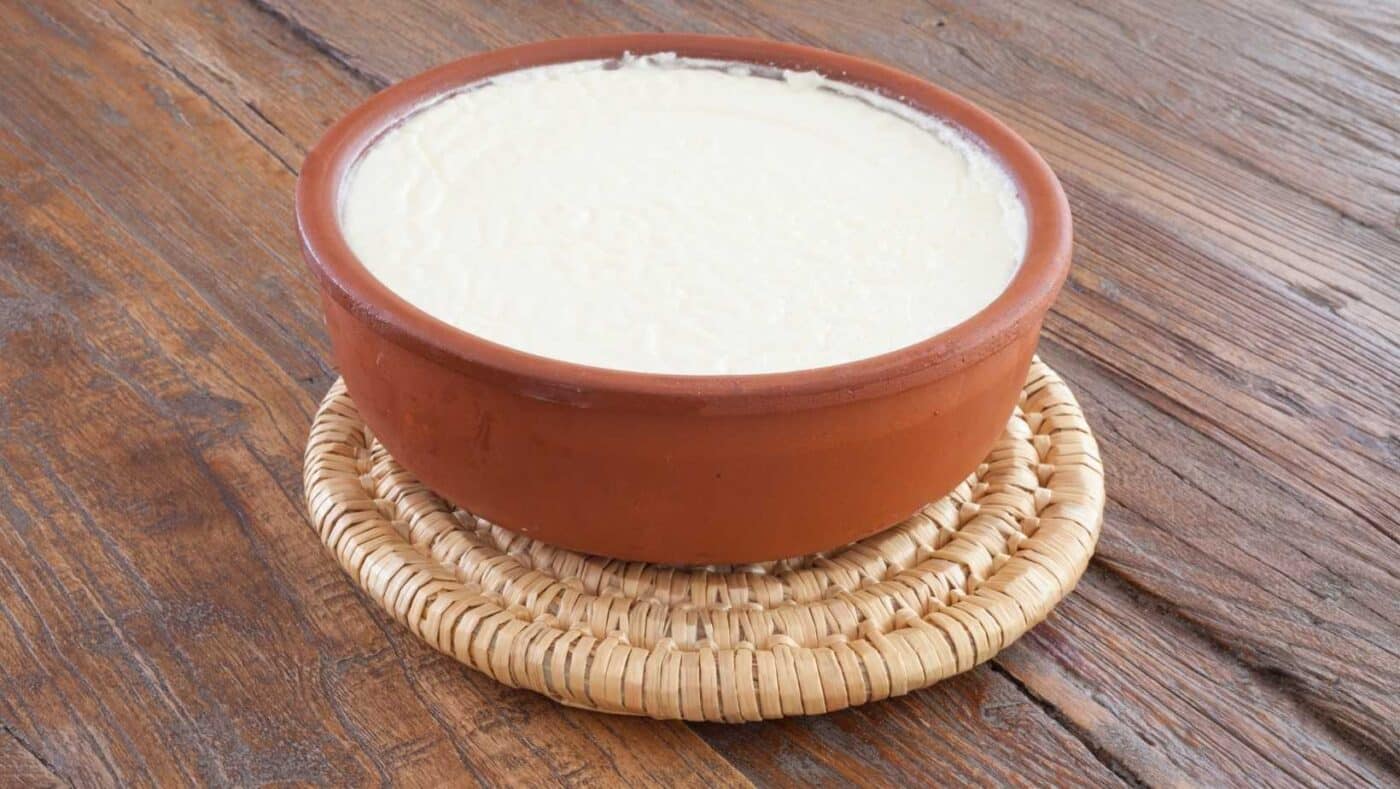
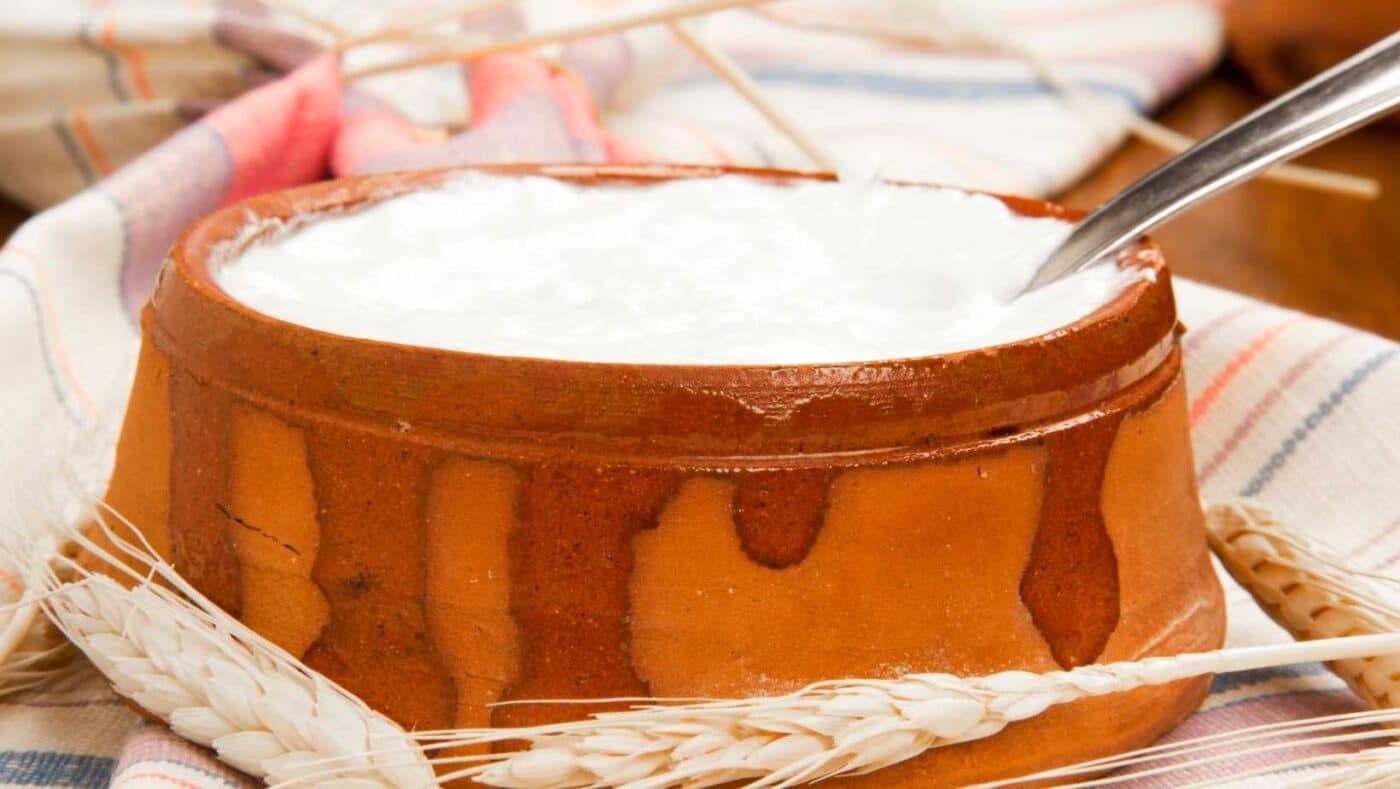
Yogurt is a nutritious and delicious dairy product that is loved by many. Making yogurt at home allows you to control the ingredients and customize the flavors to your preference. One popular method of making yogurt is using a clay pot or crock pot. In this guide, we will explore how to make yogurt in a crock pot using a clay pot, and the benefits it offers.
Table of Contents
Making Yogurt in a Clay Pot
Making yogurt in a clay pot is a traditional method that has been used for centuries. The porous nature of the clay allows the yogurt to breathe, creating an ideal environment for fermentation. Here’s a step-by-step guide on how to make yogurt in a crock pot:
Ingredients:
- Milk: Use fresh, high-quality milk. You can choose from whole milk, low-fat milk, or any other type based on your preference.
- Yogurt Starter: You will need a small amount of yogurt with live active cultures to use as a starter. You can use store-bought yogurt or a previous batch of homemade yogurt.
Instructions:
- Step 1: Sterilize the clay pot by washing it thoroughly with hot, soapy water. Rinse it well and allow it to air dry.
- Step 2: Heat the milk in a separate pot over medium heat until it reaches a temperature of around 180°F (82°C). Stir occasionally to prevent scorching.
- Step 3: Remove the pot from the heat and let it cool to around 110°F (43°C). This temperature is crucial for the yogurt cultures to thrive.
- Step 4: Once the milk has cooled, add the yogurt starter and stir gently to mix it evenly.
- Step 5: Pour the milk mixture into the sterilized clay pot and cover it with a lid.
- Step 6: Place the clay pot in a warm spot, such as an oven with the pilot light on or a warm corner of your kitchen. Maintain a temperature of around 100°F (38°C) for the yogurt to ferment. You can use a thermometer or yogurt maker to monitor the temperature.
- Step 7: Allow the yogurt to ferment undisturbed for 6 to 8 hours, or overnight. The longer you let it ferment, the tangier the yogurt will become.
- Step 8: Once the desired fermentation time is reached, remove the clay pot from the warm spot and refrigerate the yogurt for at least 4 hours to cool and set.
- Step 9: Your homemade yogurt is now ready to be enjoyed. Serve it plain, or add fruits, honey, or granola for extra flavor and texture.

Benefits of Using a Clay Pot for Yogurt
Using a clay pot for making yogurt offers several benefits. The porous nature of the clay allows for gradual heat distribution and air circulation, which helps in achieving a smooth and creamy texture. The clay pot also retains heat well, providing a consistent temperature for the yogurt to ferment. Additionally, clay pots are free from harmful chemicals and additives often found in commercial yogurt containers, making them a healthier choice for homemade yogurt.
Conclusion
Making yogurt in a clay pot or crock pot is a traditional and effective method that yields delicious and healthy results. By following the steps outlined in this guide, you can enjoy the satisfaction of making your own yogurt at home using natural ingredients. Experiment with different flavors and toppings to create your perfect bowl of homemade yogurt!

